
In a busy community pharmacy, I watched plenty of smart, capable trainees get tripped up by one thing that had nothing to do with drug names or math: paperwork. The certification application process is not hard, but it is picky. A missing date, a mismatched name, or waiting too long to schedule can easily cost you weeks.
This guide walks you through the process in the same order I coached new staff: confirm eligibility, gather documentation, submit cleanly, then schedule your exam in a way that avoids administrative delays.

Step 1: Pick your certification pathway first
Before you fill out anything, get clear on which exam you are applying for. In the US, the two most common national certification pathways are:
- PTCB (the organization) and its exam, the PTCE
- NHA (the organization) and its exam, the ExCPT
If you are still deciding, start here: PTCB vs ExCPT: Which pharmacy technician exam should you take?
Once you choose, commit to that pathway for this application cycle. Switching midstream is where I have seen the most duplicated fees and rework.
Step 2: Confirm eligibility (do not assume)
Eligibility rules change occasionally, and routes get added or removed over time. The safest habit is to verify the current requirements directly on the testing organization’s website right before you apply.
At a minimum, expect eligibility requirements to involve some combination of:
- Age (minimum age rules vary)
- Education (often a high school diploma or equivalent, depending on the current rules)
- Training pathway (a training program, work experience, or another approved route, depending on the exam and current rules)
- Legal and conduct questions (often disclosure questions about prior convictions or board actions)
Official eligibility pages (check current requirements here):
My “two-minute eligibility check”
Before you begin an application, answer these three questions in writing:
- Which exact exam am I applying for, and what is the current eligibility route I qualify under?
- What document proves that route (diploma, transcript, training completion, employer verification, etc.)?
- Does my legal name match across my ID and the account I am about to create?
If any of those are fuzzy, stop and clarify now. It is much cheaper than fixing it later.
Step 3: Create your account using your legal name
Create your testing organization account and enter your personal information exactly as it appears on the government-issued ID you will bring to the test center.
Common name mismatch problems
- Nicknames: “Katie” on the account, “Katherine” on the ID
- Hyphens and spaces: double last names or hyphenated names entered differently
- Middle names: sometimes optional, but if you include it, keep it consistent
- Recent name changes: marriage, divorce, legal changes not reflected everywhere yet
If your name has changed recently, resolve it before applying when possible. Testing organizations are strict because ID matching is part of exam security.
Step 4: Gather documentation before you start
Applications go faster when you treat this like a small project: collect your proof documents first, then sit down to apply once.
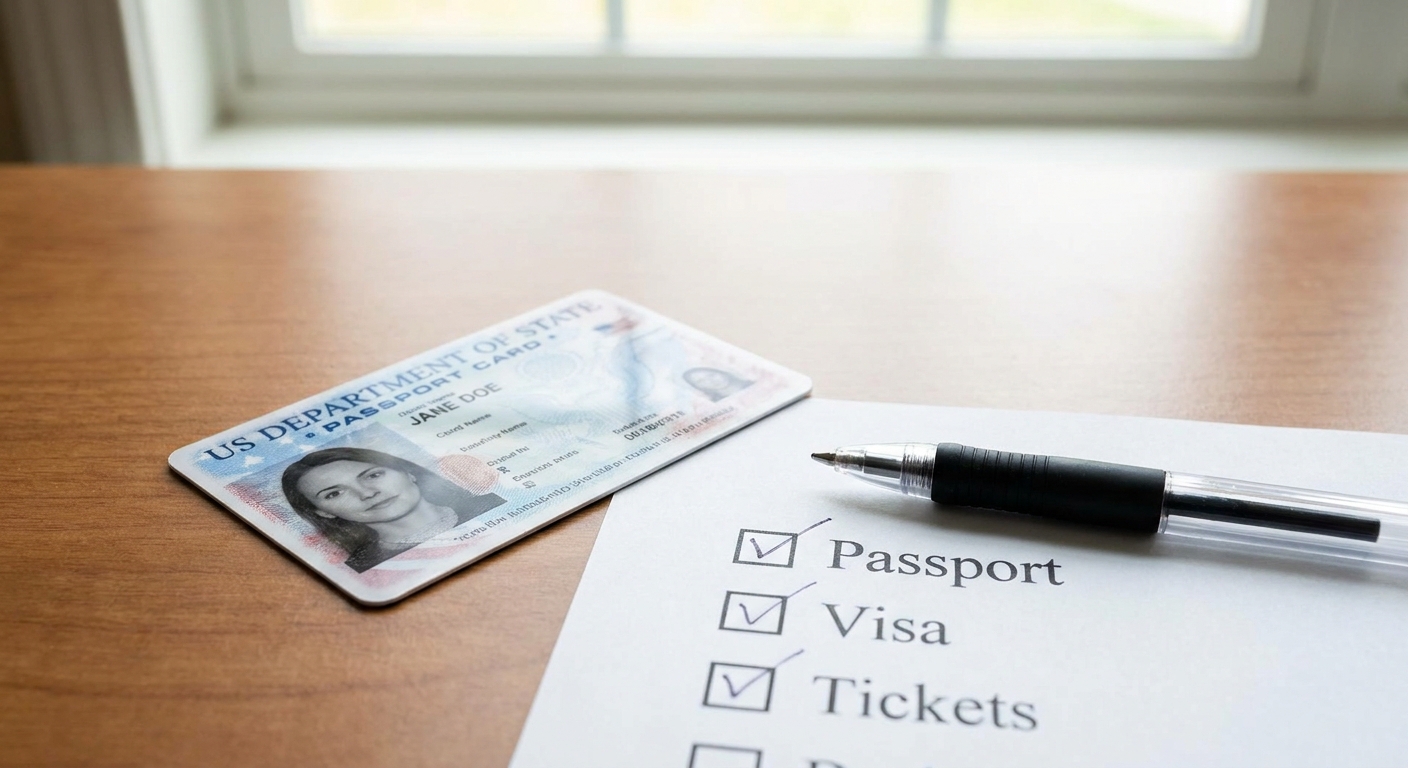
Your pre-application document checklist
- Government-issued photo ID you will use on test day
- Education proof (typically a diploma or equivalent documentation, depending on requirements)
- Training program completion proof or work experience verification if your eligibility route requires it
- Any disclosure documentation you may need if you answer “yes” to legal or conduct questions
- Payment method (card details ready, billing address correct)
Scan and file like a pro (so you can re-use it)
Create a folder on your computer called something like Pharmacy Tech Certification, then add subfolders:
- 01 ID
- 02 Education
- 03 Training or Work Verification
- 04 Receipts and Confirmations
This sounds simple, but it prevents that frantic “Where did I save the PDF?” moment when you need to upload or re-send something.
Step 5: Upload documents carefully
This is the step where avoidable delays show up. In my experience, the most common slowdowns were unclear documents, incomplete forms, or information that did not match the account.
What “clean documentation” looks like
- Readable: clear scan or photo, not blurry, not cut off
- Complete: full page visible if it is a certificate or form
- Correct person: your name matches your account and ID
- Correct dates: completion date or graduation date is present when required
- Correct format: follow the upload rules in the portal (file type and size limits)
Work experience verification tips (if applicable)
If your route uses work hours or employer verification, get ahead of two common issues:
- Ask early: managers are busy, and HR timelines are slower than pharmacy timelines.
- Be specific: confirm exactly what the testing organization needs (who signs, what details must be included, and whether it must be on letterhead).
If you are building your overall exam plan, my broader exam guide is here: Pharmacy Tech Exam guide.
Step 6: Apply in one sitting
When you finally start the application, try to finish it in one sitting. Portals can time out, and partial saves do not always keep uploads.
My “submit and prove it” habit
- After submission, save a PDF of the confirmation page if the portal allows it, or take a screenshot.
- Save the payment receipt and any confirmation email.
- Put everything in your Receipts and Confirmations folder.
If you need to contact support later, having a submission date, confirmation number, and receipt makes the conversation dramatically shorter.
Step 7: Track approval and policy details
Some applications are approved quickly. Others go into review, especially if documentation is involved. Do not assume “no news” means “it is processing fine.”
How to prevent a stalled application
- Check your portal status on a regular schedule (for example, twice a week).
- Search your email for messages from the testing organization, including spam or junk folders and filtered inbox tabs.
- Respond quickly if they request clarification or re-uploads.
Do not ignore reschedule and refund rules
This is one of those paperwork pitfalls people forget about until it hurts. Before you lock in a date, read the current policies for:
- Rescheduling windows (how early you must change an appointment)
- Cancellation and refund rules
- Fees for changes (if any)
If your application is time-sensitive because of a job offer or school deadline, build in a buffer. Administrative review is not something you can cram the night before.
Step 8: Schedule your exam date
Once you are authorized to test, schedule right away. Test center availability can be tighter than people expect, especially on weekends and in larger metro areas.
Choosing a test date that sets you up to pass
- Pick a realistic window: far enough out to finish your review, close enough that you stay motivated.
- Avoid crunch week: do not schedule the day after a long work stretch or major life event.
- Leave retake space: even if you do not need it, leaving calendar space reduces stress.
Remote vs test center (if offered)
Some candidates prefer remote proctoring, others test centers. Remote options depend on the specific exam and testing vendor. If you test remotely, treat your room setup like part of the exam. Unstable internet, background noise, or prohibited items in view can derail a session.
What happens next
After you schedule, you should see an on-screen confirmation and usually receive an email with your appointment details. Save both. Also, double-check the current rules for rescheduling, cancellation, and arrival or check-in times.
If you want help building a study plan that matches your test date, see: Study Guides and my organization framework here: Organise pharmacy tech exam study sources.
Step 9: Do an ID rehearsal 48 hours before
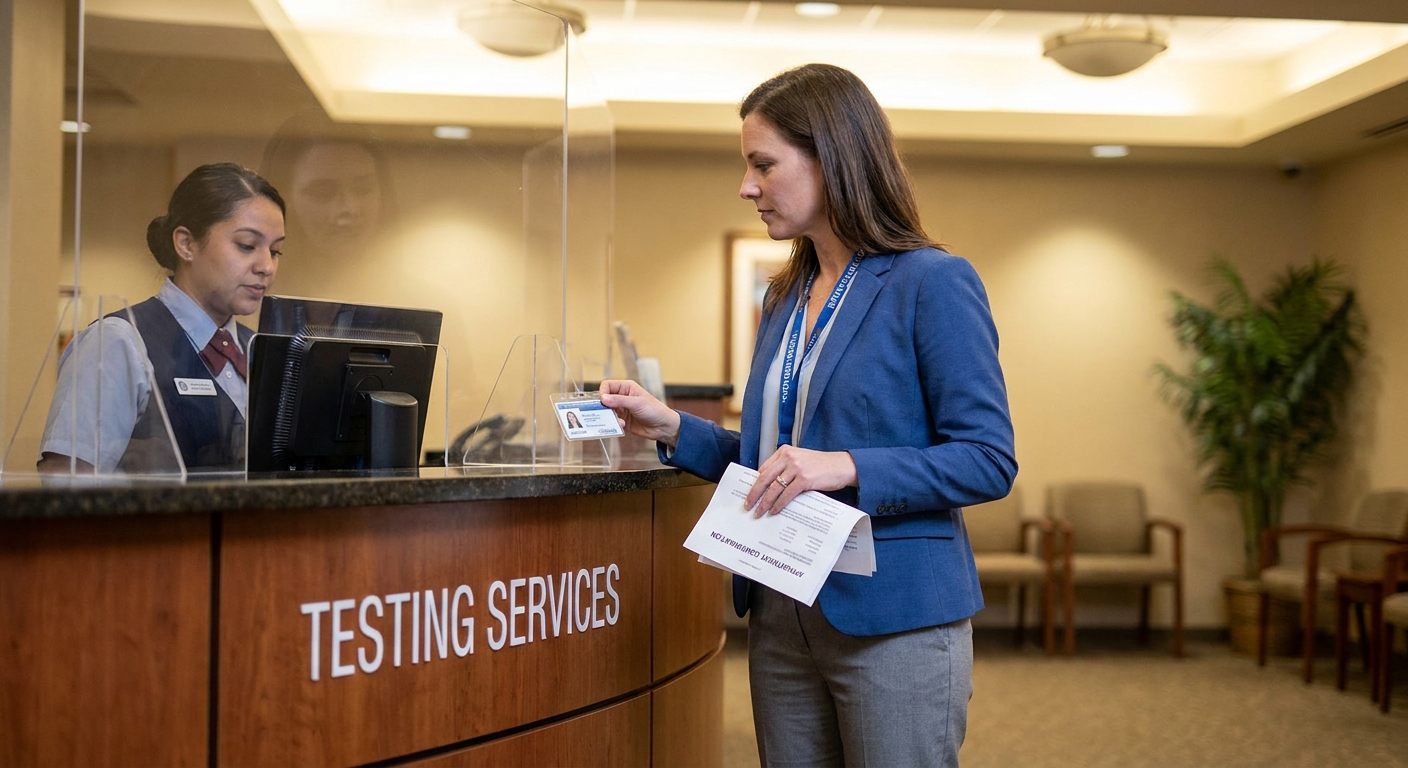
This is a simple move that prevents a surprisingly painful outcome: showing up and being turned away.
Your 48-hour checklist
- Confirm your appointment time and location (or remote check-in time)
- Confirm your ID is valid, not expired, and matches your account name
- Review what items are allowed and prohibited
- Plan your route and arrival time, including parking
- Set out what you need the night before (ID, keys, anything permitted)
If you are also tightening up core skills for the exam, especially calculations, my refresher is here: Pharmacy math and conversions.
Two quick callouts people miss
Certification is not the same as state registration
National certification (PTCB or ExCPT) is not always the same thing as your state’s pharmacy technician registration or license requirements. Employers can also have their own rules. If you are not sure what applies to you, check your state board requirements and your employer’s expectations before you assume you are “done” after passing the exam.
Accommodations take time
If you need testing accommodations, start that request process early. In real life, the documentation and review can take longer than the actual application, and waiting until your ideal test month can force you into a later date than you planned.
Quick troubleshooting
“My application says incomplete”
- Re-open each section and look for a missed checkbox or unanswered question.
- Confirm uploads actually attached and did not fail silently.
- Make sure required fields are not present but invalid (wrong date format is a classic).
“My name does not match my ID”
- Do not wait until test week. Contact the testing organization support and ask what they require for a name correction.
- Expect that you may need documentation if it is a legal name change.
“I cannot find a test appointment soon enough”
- Check multiple locations within reasonable driving distance.
- Try different days and times, including midweek mornings.
- Re-check availability periodically because cancellations happen.
“I uploaded my document but it got rejected”
- Re-scan in better light, make sure all corners are visible, and avoid glare.
- Confirm the document shows the key details they are validating (your name and completion date, for example).
FAQ
How long does the certification application process take?
It varies by organization and by whether your application needs document review. The part you control is gathering documentation early and submitting a clean application. The part you cannot control is review volume and processing time, which is why I recommend applying well ahead of your target test date.
Do I need a training program to apply?
Not always. Some exams allow eligibility through either an approved training program or work experience. Check the current eligibility page for your chosen exam, because the rules and accepted pathways can change.
What is the fastest way to avoid administrative delays?
Use an exact legal-name match, submit readable complete documents, and save proof of submission. In my experience, the delays that hurt the most were preventable mismatches or missing details.
Where can I learn what is actually on the exam?
Start with my overview: Pharmacy Tech Exam. If you are building drug knowledge alongside your application timeline, this is also useful: Memorize the Top 200 Drugs.