
I have watched a lot of smart, prepared people get rattled on test day for reasons that had nothing to do with pharmacology. A forgotten ID. Arriving late because the parking lot was full. A sweater with pockets that triggered extra screening. When you have studied for weeks, you deserve a test day that runs on rails.
This checklist is built from the real-world “front counter” mindset: remove friction, confirm the rules early, and keep your brain power for questions, not logistics.
First, confirm your exam
People say “pharmacy tech exam,” but test day details depend on the program and vendor. Before you do anything else, open your authorization email and confirm:
- The exam name (PTCB PTCE vs NHA ExCPT, or another state program)
- Your testing method (in-person test center vs online proctored)
- Your appointment date, start time, and time zone
- Your allowed ID types and personal items policy
If you need a broader overview of the certification landscape and what each exam covers, start with our pharmacy tech exam guide.
Your ID checklist
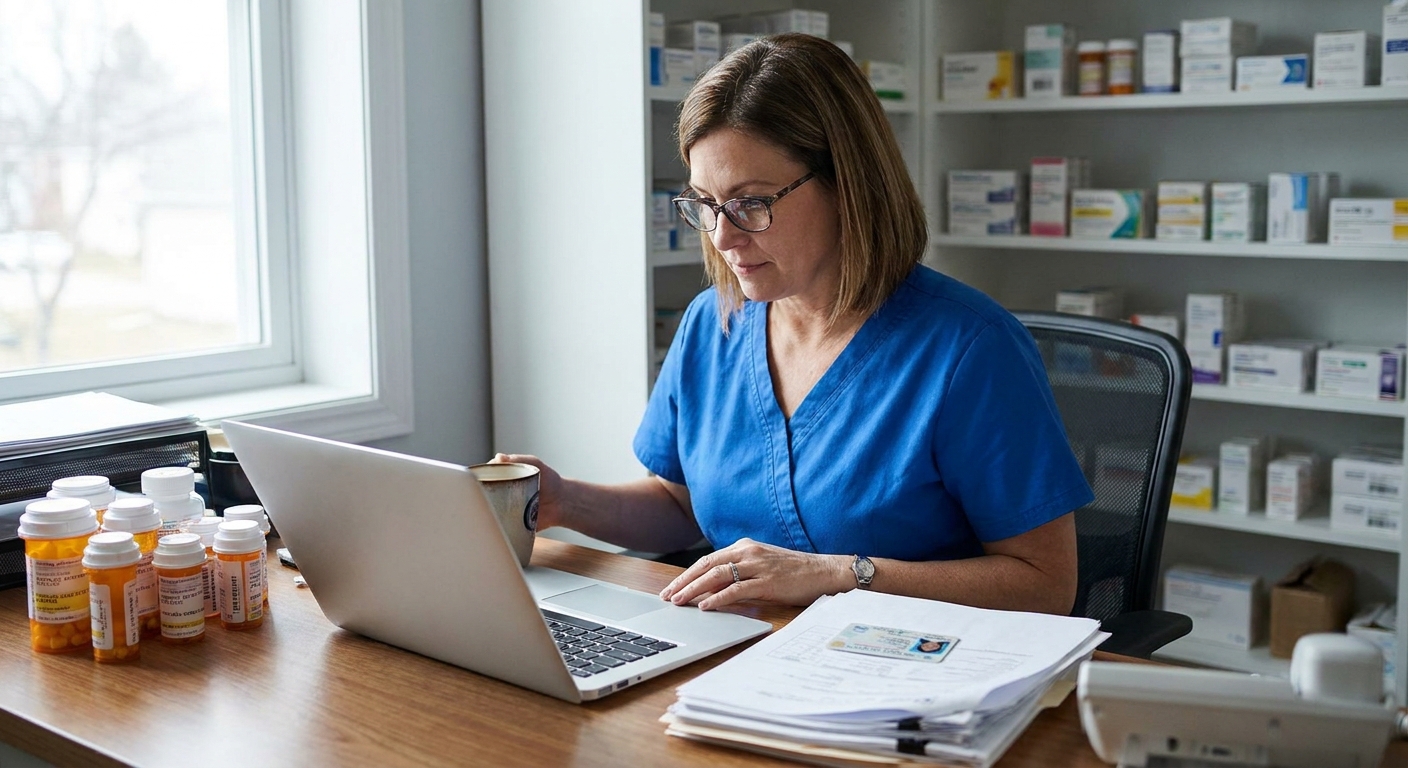
One of the most common test day problems I have seen is an ID problem. Treat your ID like a boarding pass.
Bring this early
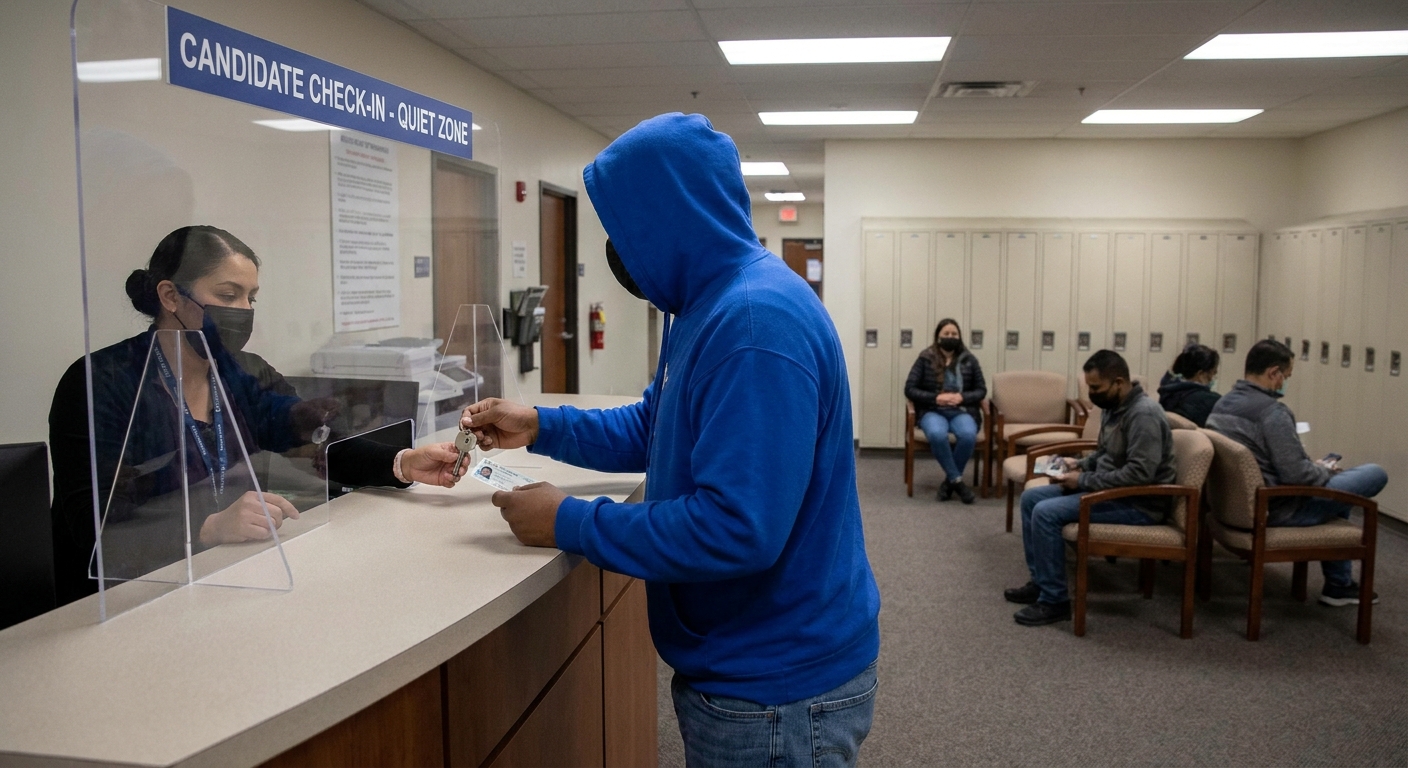
- Primary government-issued photo ID (commonly a driver’s license, state ID, passport, or military ID). It must be current and not expired.
- Secondary ID if required by your exam program (some require it, some do not). If the rules say “two forms,” do not negotiate with the check-in desk on test day.
- Your authorization or appointment confirmation (digital is usually fine, but I like a printed copy as backup).
Do a name match check
The name on your appointment must match your ID. Small differences can derail you (missing middle name, a hyphenated last name, recent marriage). If anything looks off, fix it before test day through your exam account or support channel, not at the test center.
Quick wallet rule
If your ID is in a wallet, put the wallet itself in your “test day bag” now. I have seen people grab a different wallet at the last minute and show up with the wrong ID inside.
What to wear
Testing centers are designed to keep exams secure and quiet. Your goal is to show up in clothing that clears the rules and keeps you comfortable for a long sit.
Wear
- Comfortable layers (rooms swing cold to warm). A simple hoodie or sweater without a lot of pockets is usually easiest.
- Glasses instead of a hat if you can. Hats are commonly restricted or inspected.
- Simple footwear that is easy to take on and off if asked.
Avoid
- Big jewelry and watches (many centers require you to remove them).
- Clothes with many pockets (cargo pants, bulky jackets). They can mean extra screening or a required change.
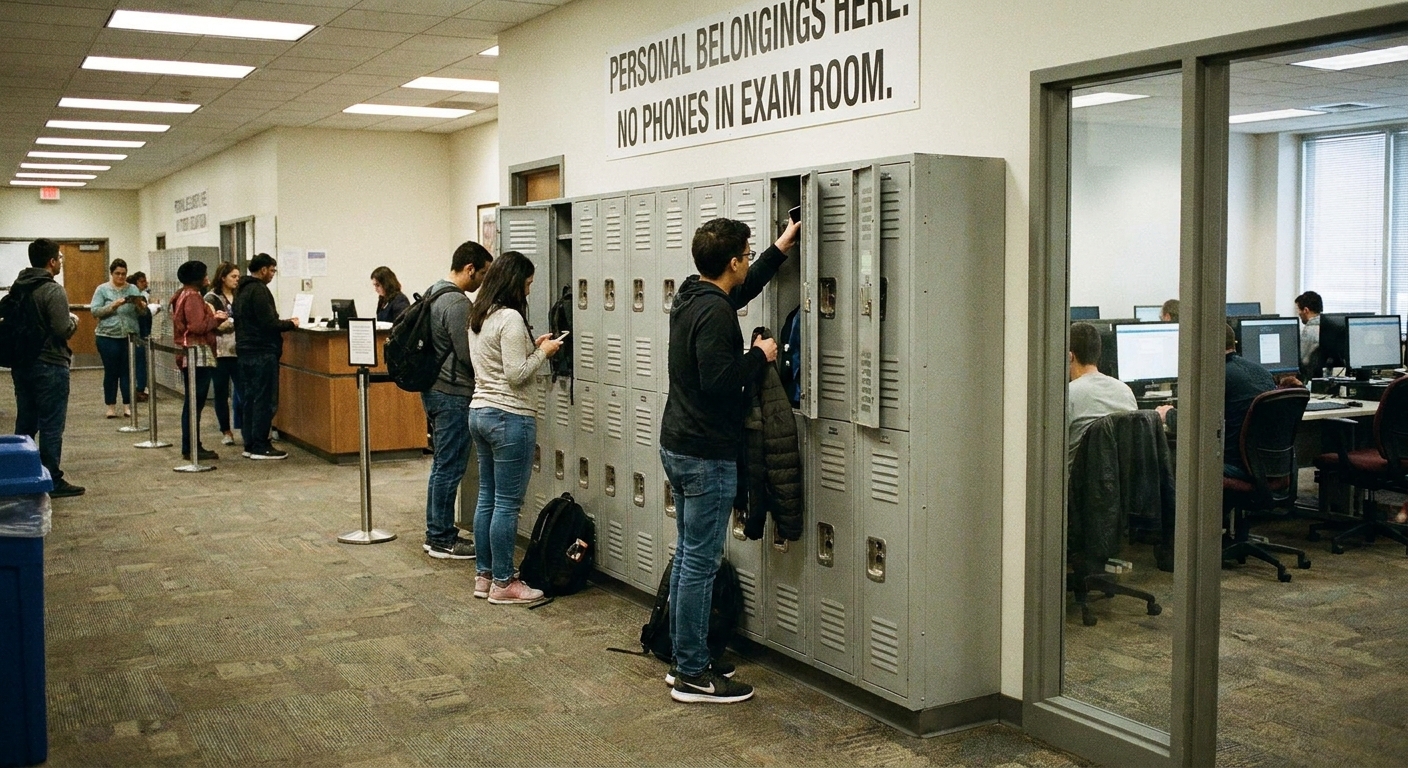
- Anything you will miss if it goes in a locker. Phones, smartwatches, earbuds, and notes almost always must be stored away.
Testing center rules
Policies vary, but most in-person computer-based centers follow a similar routine.
Common check-in steps
- Present ID and confirm your appointment
- Photo capture and possibly a signature
- Locker assignment for personal items
- Security check (pockets turned out, sleeves checked, possibly a metal detector)
- Escort into the exam room and assigned workstation
Inside the exam room
- You will be monitored (proctors and/or cameras)
- Talking is not allowed
- Food, drinks, and gum are often prohibited (some sites allow water only under specific rules)
- Scratch paper or an erasable board is typically controlled by staff
If you arrive very early, do not be surprised if the door stays locked until a set check-in window. That is normal. Know the exact address, the building entrance, and your parking plan ahead of time so “early” stays calm.
If your exam is online-proctored, the “rules” move into your room. Depending on vendor policy, expect a workspace scan, camera on, microphone on, and limits on leaving your seat.
Online proctoring prep
Online testing can be smooth, but it punishes last-minute setup. Give yourself a dry run.
- Run the system check in advance (not five minutes before start time).
- Stabilize your connection. If possible, use a reliable network and minimize other streaming or downloads in your home.
- Clear your workspace. A clean desk, no extra papers, and no extra devices in reach makes check-in faster.
- Know your scratch rules. Some vendors allow a small whiteboard, some do not, and some require showing both sides before you start.
- Plan for prohibited hardware. External monitors, headphones, and some peripherals are often restricted. Check your specific policy before test day.
If you use approved medical items like an inhaler, glucose monitor, or other device, review the vendor’s rules ahead of time and be ready to declare it during check-in.
Time management
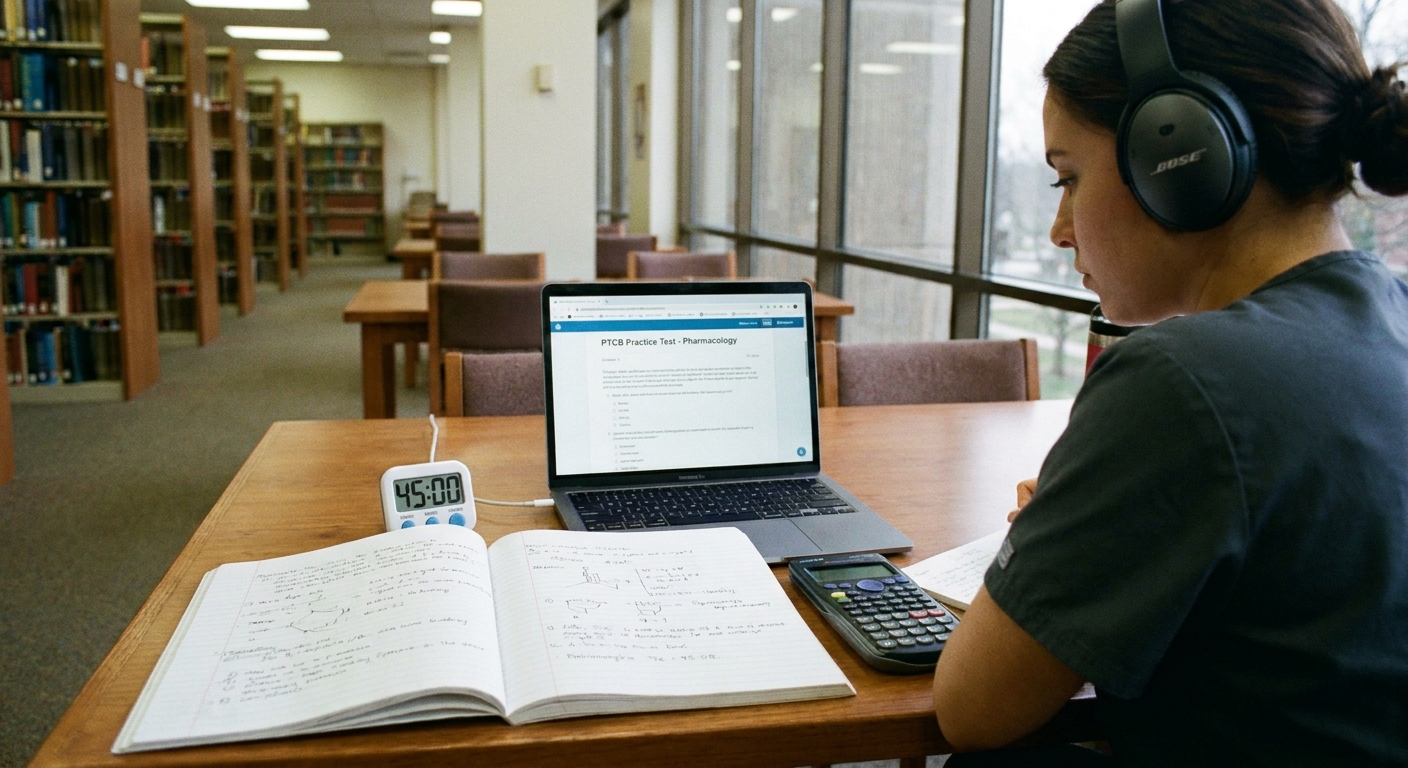
When people run out of time, it is rarely because they did not know enough. It is usually because they got stuck. The fix is a simple pacing plan you can follow even when stressed.
Use a three-pass strategy
- Pass 1: Bank the easy points. Answer what you can quickly and confidently. If you are not sure after a reasonable read, mark it and move on.
- Pass 2: Work the “maybe” questions. These are the ones where you can eliminate choices or you know the concept but need a minute.
- Pass 3: Final review and educated guesses. Do not leave blanks if your exam allows an answer on every item. Make your best choice and commit.
Set mini check-ins
Instead of staring at the clock every minute, decide in advance to do quick time checks at a few points (for example, around the quarter mark, halfway, and with enough time left for a review pass). The goal is to stay aware without spiraling.
One rule for math
If a calculation is going nowhere, stop and reset. Re-read the stem, rewrite what is being asked, and confirm units. In community pharmacy, unit mix-ups are a common source of errors. Test day is no different.
Night before
Big “final cram nights” feel productive, but they usually just steal sleep. I prefer a calm checklist that protects your confidence.
Night before checklist
- Confirm your appointment details and route to the site
- Set two alarms
- Pack your test day bag: ID, keys, wallet, any required confirmation details
- Choose clothes and layers
- Eat a normal dinner and hydrate
- Do a short, light review only (formulas, top error-prone topics)
- Stop studying early enough to wind down
If your study materials feel scattered, use my method for organizing pharmacy tech exam study sources. The best time to get organized is a few weeks out, but even a quick tidy can reduce anxiety.
Test morning
Test morning should feel like a routine shift. Not a special event.
Do this
- Eat a familiar breakfast with some protein
- Arrive early enough to handle traffic, parking, and check-in without rushing
- Use the restroom before you are seated, even if you “do not think you need to”
- Do a 60-second breath reset in your car or the lobby if your heart rate is up
Do not do this
- Try new caffeine amounts, new supplements, or an energy drink you do not normally use
- Read heavy notes right up until check-in (it often increases doubt)
- Argue with a confusing question before you have seen the rest of the exam
If you panic
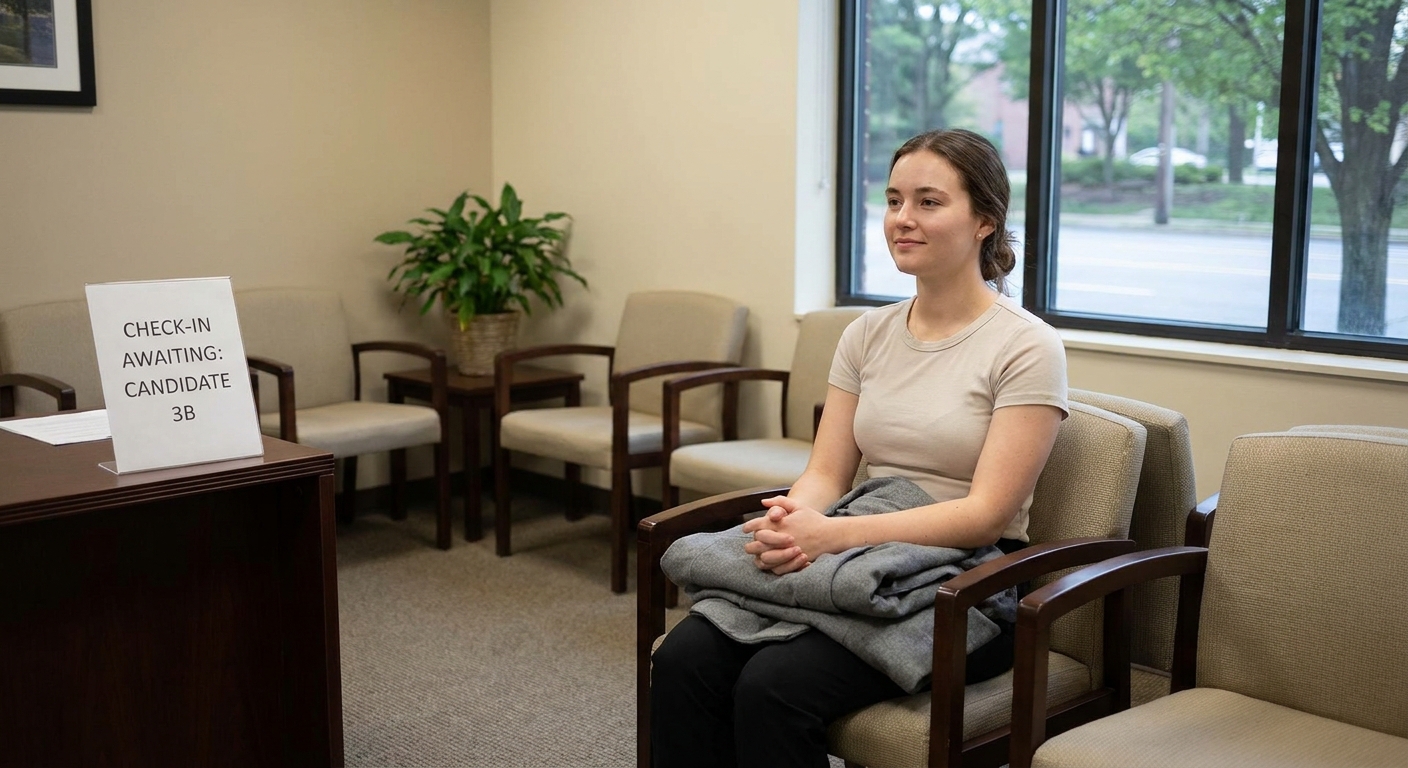
I used to coach new staff through busy counter rushes, and the same principle applies here: you cannot think while your body believes it is in danger. Give yourself a short reset.
- Stop answering for a moment. Put your hands flat on the desk.
- Do a 60-second breath reset. Four slow breaths can be enough. In through the nose, out through the mouth. Keep it subtle.
- Find one “easy win” question. Move to something you can answer confidently to rebuild momentum.
- Return to the tough item later. You are not quitting. You are pacing.
A surprising number of exam “blank outs” pass in under a minute if you stop fighting them.
Breaks and issues
Breaks
Some exams include scheduled breaks, and some allow optional unscheduled breaks that still count against your total time. Know the rules for your specific appointment, and plan accordingly.
Approved accommodations
If you have approved testing accommodations, bring whatever documentation your program instructs and confirm the testing center has them on file before the day of the exam. Do not assume the note “just shows up.”
If you hit a technical issue
- Raise your hand immediately for the proctor. Do not try to fix the workstation yourself.
- Stay calm and factual. Describe what happened (frozen screen, mouse not working, question not loading).
- Ask what will be documented. If an interruption affects timing, you want it recorded by the center.
After you finish
End-of-exam experiences differ. Some candidates receive a preliminary result quickly, while others wait for official scoring and reporting. Either way, do not treat how you feel walking out as a reliable score predictor. I have seen people feel awful and pass comfortably, and feel great and miss by a hair.
If you are in the “waiting for results” window, your best next step is to return to normal routines and avoid replaying every question. If you need a structured way to prepare for next steps in your job search after certification, browse Healthcare Careers and Job Interview Tips.
Checklist to copy
If you like a printable-style list, copy and paste this into your notes app and check it off.
Pack
- Primary photo ID (not expired)
- Secondary ID (if required)
- Appointment confirmation details
- Car keys and any parking validation info
- Simple outer layer (no bulky pockets)
Plan
- Leave time for traffic and parking
- Know the building entrance and suite number
- If you arrive very early, expect to wait until the check-in window opens
- Bathroom stop before check-in
- Three-pass time strategy
Mindset
- Focus on the next question, not the last one
- If stuck, mark it and move on
- If panic hits, do the 60-second breath reset and restart momentum